You will need:
- A plain t-shirt
- studs
- ruler
- pencil
The studs i used are silver round flat-headed studs with four spokes to secure your stud on the material. These ones i purchased on eBay for around £2.00. I searched in the eBay search engine 'D.i..y studs' and hundreds of different packs of them came up.
Step 1:
Start by stenciling in a line directly down the center of your tee.
Step 2:
Next create a second line roughly where the top of the cross would go. Ensure the line is straight, then add a mark on either side of the line equal lengths apart.
Step 3:
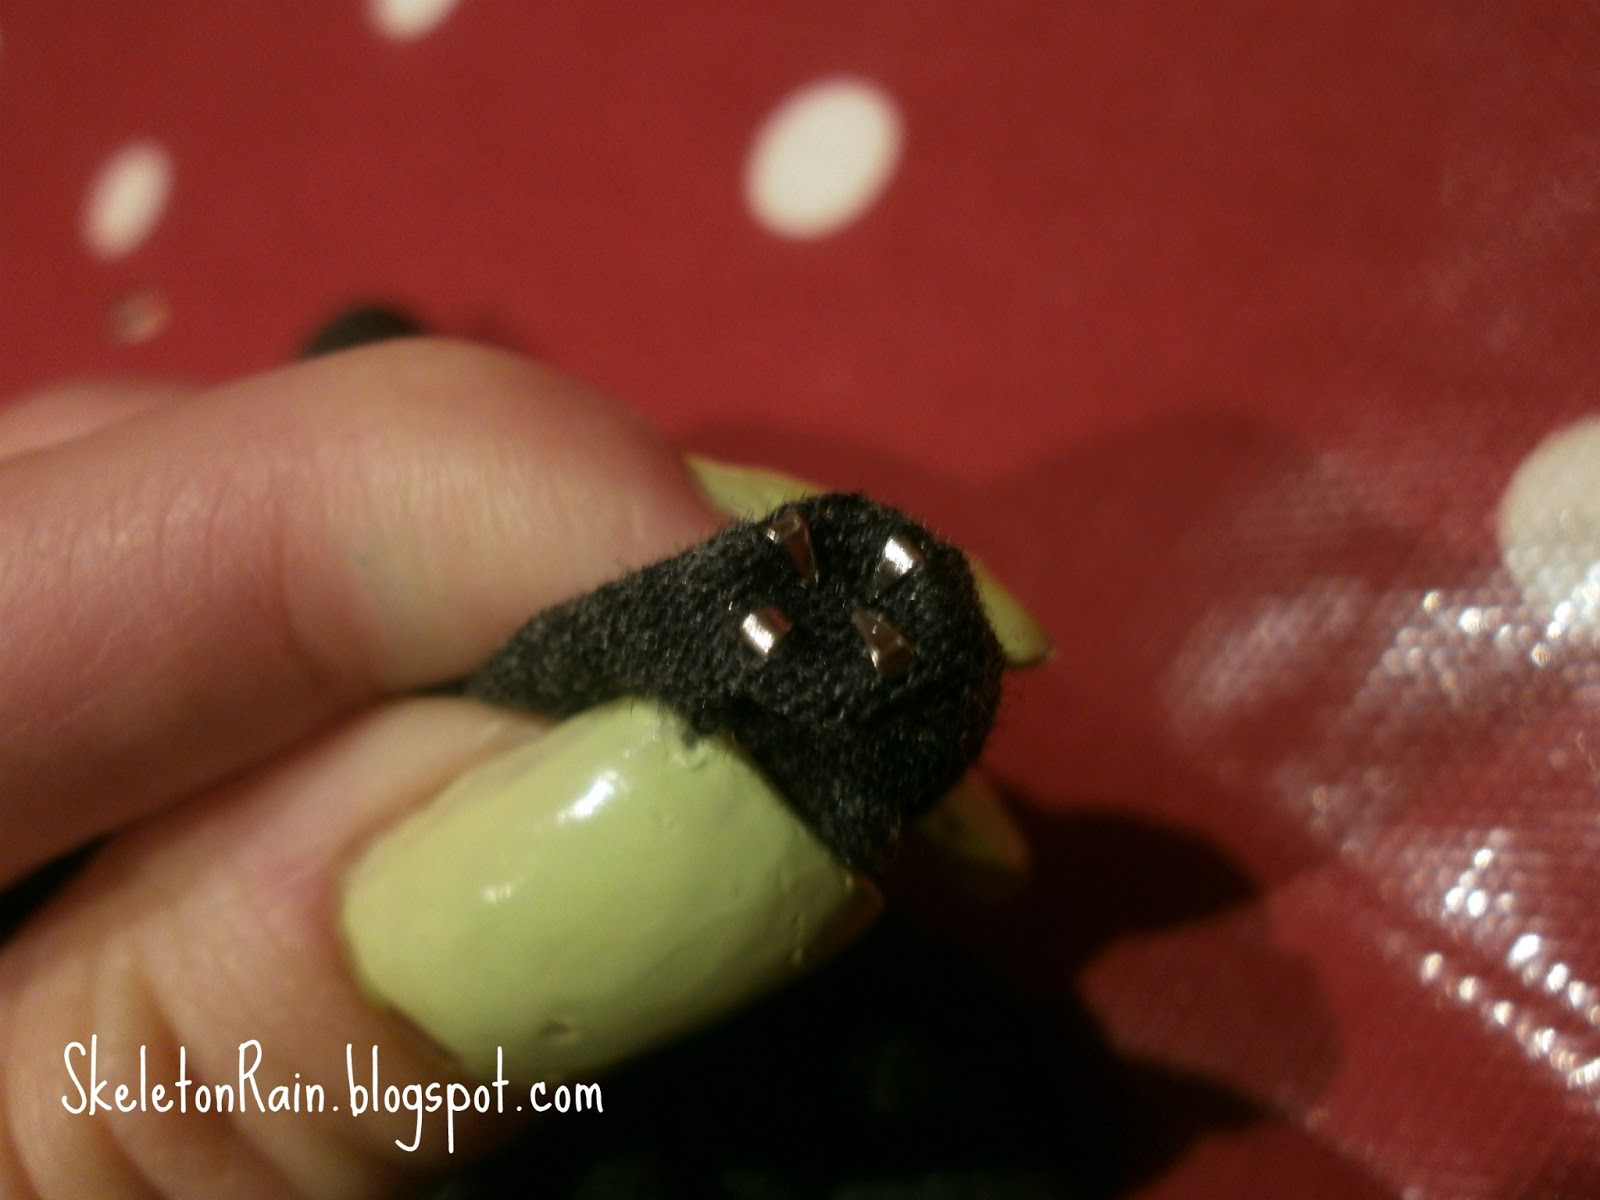
Start adding your stud from the interception of both lines. push the stud in place, then carefully flip to the underside of the top and you should be able to see all four spokes of the stud.
Step 4:
Next you need to push down all of the spokes so that they are turned in to the inside of the stud. This will stoop the spokes from irritating your skin.
Step 5:
Follow the first line you made, stud all the way along about 5 mm apart.
Step 6:
It can be quite tricky to keep them all aliened correctly but do your best to ensure they are all following the line.
Step 7:
After you have completed the first line, start on the second line following the same process.
Step 8:
Add studs either side of the cross and follow along the original cross.

This will make the cross bolder and more outstanding.
And walare, the finished product! You can experiment with different designs, materials or studs.
Hope you enjoyed!